This page explains the different steps taken to build this hypervideo. This is intended to be an introduction to Advene features, a tutorial to making a hypervideo, and a guide for reusing this package.
As a rule of thumb, it is often a good idea to start with the Player > Detect shots function of Advene, in order to get a first structure of annotation. In this particular case, however, this has not proven very useful, because Shots are not aligned with the speech, which is the primary interest of the video.
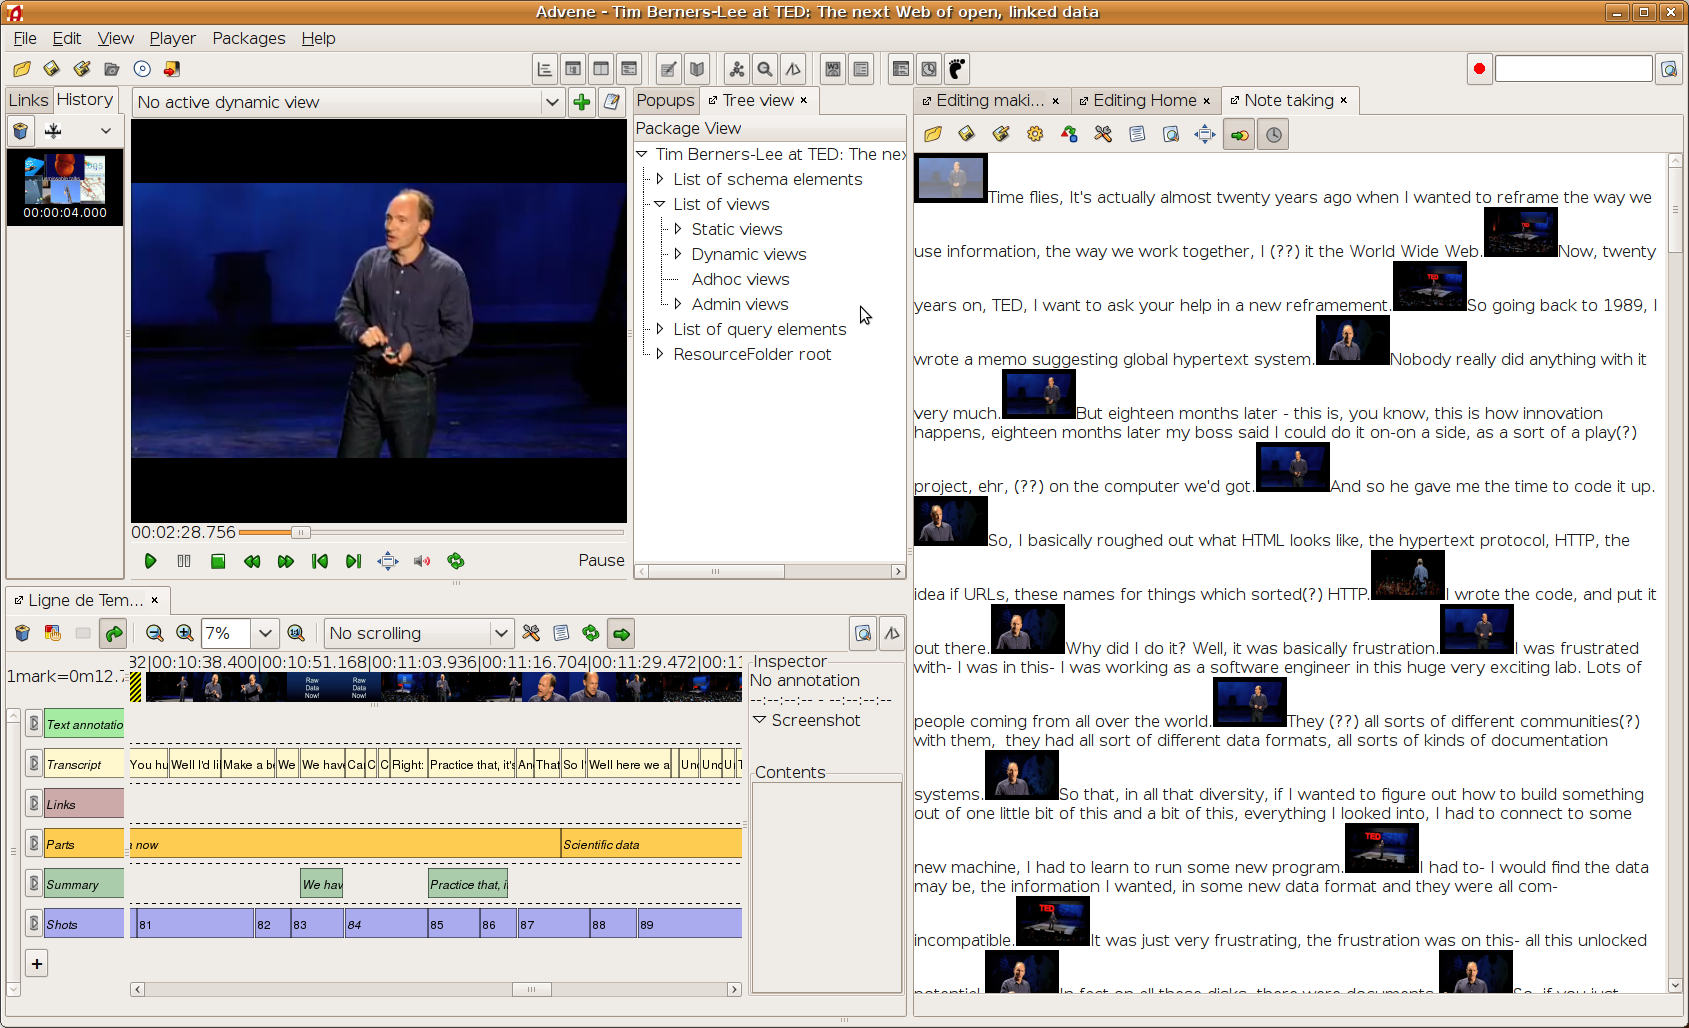
We then proceeded with a Transcription of the speech, with the Note-taking editor (see screenshot). This editor is very similar to a standard text-editor, in which you can additionally put timestamps. You can also easily control the video player with keyboard shortcuts, making it easy to pause, rewind and resume the playing in order to write the transcription. Timestamps were inserted between sentences, whenever there was a long enough pause between them. Then the content of the editor was exported to a set of annotations. Those annotations were used as the basic structure of the video.
Then we divided the speech into a number of Parts. Annotations of that type were temporally aligned on the corresponding Transcription annotations.
Some parts of the speech refer external resources. We created a dedicated annotation for capturing Links to those resources. Each time Tim mentions something worth linking, the corresponding Transcript annotation has been copied as a Link annotation (in order to get the timestamps), then its content has been changed into a structured content with a text (the label of the link) and a URL.
Once the annotations had been defined, the main static views of the hypervideo could be designed. The transcription view uses the Parts annotation to generate a table of contents and headings, the Transcription annotations to generate the textual content with links to the video, and the Links annotations to provide links to external resources. Other views such as the home page and this page are basically static HTML documents, except for the reference to the menu view, used to generate a common header in all the pages.
Another static view is the RDF export, designed to demonstrate the ability of Advene to export Linked Data as well as HTML documents. This view is actually completely independant on the particular structure of this package and could actually be reused with any other Advene package: it just exports all the annotations, regardless of their type.
2021 updateThe RDF view was defined in the pre-WebAnnotation era. Now WebAnnotation, serialized in JSON-LD, is a standardized way to exchange annotations and has been included in Advene, as an export filter, which can be invoked through the GUI or with the URL packages/advene/export/WebAnnotationExporter.
The next step was to produce a summary of Tim's speech, both as a textual document and a virtual montage of the video. To achieve this, a subset of the sentences was selected and copied from the Transcription annotation type to a new Summary annotation type, and adapted:
The various views described above can be dynamically accessed through a web browser, using Advene's embedded web server. You then have the possibility to mingle with the data and views, to make experiments, corrections, etc. However, if you want to publish your data on the web without imposing the use of Advene (but then with a restricted set of interaction possibilities), you can export the various static views as HTML documents, which can be then uploaded to any web server, through the File/Website export menu item.